Homes rarely fail spectacularly. They age in whispers, behind drywall, under slabs, in the quiet edges of crawlspaces. The shower temp jitters when the dishwasher kicks on. A ceiling stain ghosts into view and then disappears. A stubbornly corroded shutoff valve refuses to move. When you plan a remodel, those whispers become chances. You’ve already opened a wall. You’re already moving cabinets. Why not stitch in smarter plumbing while the house is torn open, instead of waiting for a 2 a.m. pipe burst to make the decision for you?
Pairing a partial repipe with renovation work is one of the sharpest moves a homeowner can make. It’s not as flashy as a waterfall island or a new clawfoot tub, but it carries a long tail of advantages: quieter lines, balanced pressure, fewer emergency calls, and a future layout that’s easier to service. I’ve walked these projects from sketch to drywall many times. The right partial repipe isn’t a compromise. It’s a strategy.
When a Partial Repipe Makes Sense
Start with your reasons. Full-scale Repipe Plumbing across an entire house is justified when you have widespread failures, hazardous materials, or a maze of unfixable runs. But most houses tell a more nuanced story. Maybe only the trunk lines are undersized. Maybe your home has a mix of copper and CPVC patched across decades, with the worst sections feeding the kitchen and master shower. Or you’re already pulling permits for a kitchen-great room overhaul, and the ceiling below is accessible for the first time in years.
I think of a partial repipe as a surgical strike. You target the sections that are most stressed or most accessible during the remodel. You let the renovation do the heavy lifting by exposing cavities and routes you’d otherwise have to cut open separately. Your goals are pressure stability, material uniformity across key runs, and reliability at high-use fixtures. You keep costs measured while securing local repipe plumbing Happy Valley the backbone for the next 20 to 30 years.
A practical example: a 1970s ranch with galvanized mains that reduce to copper branches. The kitchen is slated to move 6 feet to the east. The ceiling joists Repipe Plumbing run perpendicular to the old run, which always made re-routing a headache. During demolition, that barrier becomes an invitation. Replace the galvanized main from the meter to the kitchen branch, upgrade to PEX or Type L copper, and re-route with a proper manifold under the new sink location. You leave the intact copper branches to bedrooms alone for now, but you give the busiest area in the house fresh arteries, ready for the next decade’s appliances.
What Your House Tells You, If You Listen
You can read a house like a paper trail. Look for scale build-up inside aerators, especially if it appears uneven throughout the home. Note pressure drops when someone flushes. Pay attention to hot water lag from faraway bathrooms. Each clue points to a bottleneck or a run that’s losing the fight against corrosion or mineral load.
I once traced an erratic hot water delay to a 40-foot copper return line that had been squeezed through two tight notches. The fix wasn’t a whole-house tear-out. It was a partial repipe of the hot trunk, relocated to a straighter chase with fewer fittings and a smart recirculation timer. That change shaved minutes off wait time and slashed fuel waste, all while the owners were already remodeling a laundry room that gave us access.
Partial repipes shine when you take advantage of what’s open. You don’t guess. You use the remodel to inspect runs visually, photograph the routes, and confirm assumptions with pressure tests. If you’re replacing cabinets, pull a small section of additional drywall around the sink to see what the main branch looks like. If the basement ceiling is drop-in, pop tiles and map the system. Document as if the future you will need a treasure map, because future you will.
Materials: Choosing What You’ll Live With for Decades
The material you choose sets the tone for future service and performance. The main contenders are PEX, copper, and to a lesser degree CPVC. Each has strengths.
PEX is the champion of flexible routing and reduced fittings. It snakes through tight cavities and makes long, clean runs possible where copper would require elbows. It tolerates minor freeze events better than rigid pipe. With a proper manifold, you can isolate individual fixtures like a breaker panel isolates circuits. The trade-offs are heat and UV sensitivity, as well as manufacturer-specific fittings and tools. When done right, PEX feels like an upgrade to how a house breathes.
Copper Type L has a proven lifespan when water chemistry is friendly. It handles heat, sits happily near a boiler, and looks tidy in an open basement. The cons are cost, the need for precise workmanship, and potential pinhole issues in aggressive water. If your existing system is mostly copper in great shape, replacing targeted sections with new copper might avoid dissimilar metal transitions and keep continuity.
CPVC shows up mostly in warmer regions and in older remodels. It can be adequate, but the fittings are bulky, the solvent-welding requires patience, and heat from nearby appliances can be an issue. I typically only expand CPVC if the house already has it and everything is in good condition. Otherwise, I plan transitions to PEX or copper during a renovation, using listed transition fittings and dielectric unions where required.
One persistent mistake I see: mixing materials haphazardly without correct transitions. Copper to galvanized without a dielectric union accelerates corrosion. CPVC jammed into a cramped cabinet next to a high-output dishwasher motor can deform over time. Choose your network with the whole system in mind, not one fixture at a time.
The Anatomy of a Smart Partial Repipe
Every house is different, but several patterns pop up again and again that deliver real gains.
Start with the main trunk and near-appliance branches. That means the cold feed from the meter or well tank to the first split, and the hot feed from the water heater to high-demand areas. If the water heater is part of the renovation, you’re already halfway to a better system. When you replace or relocate a heater, re-run the immediate trunk lines with full-bore valves and expansion considerations.
Think in terms of balancing. The aim is for someone to shower upstairs while the washer runs without the shower turning into a cold surprise. Oversized trunks with right-sized branches help. A compact manifold near the heater or a remote manifold near a bathroom group can spread demand without starving anyone. Fewer elbows equal fewer pressure drops. Longer sweeps beat tight turns.
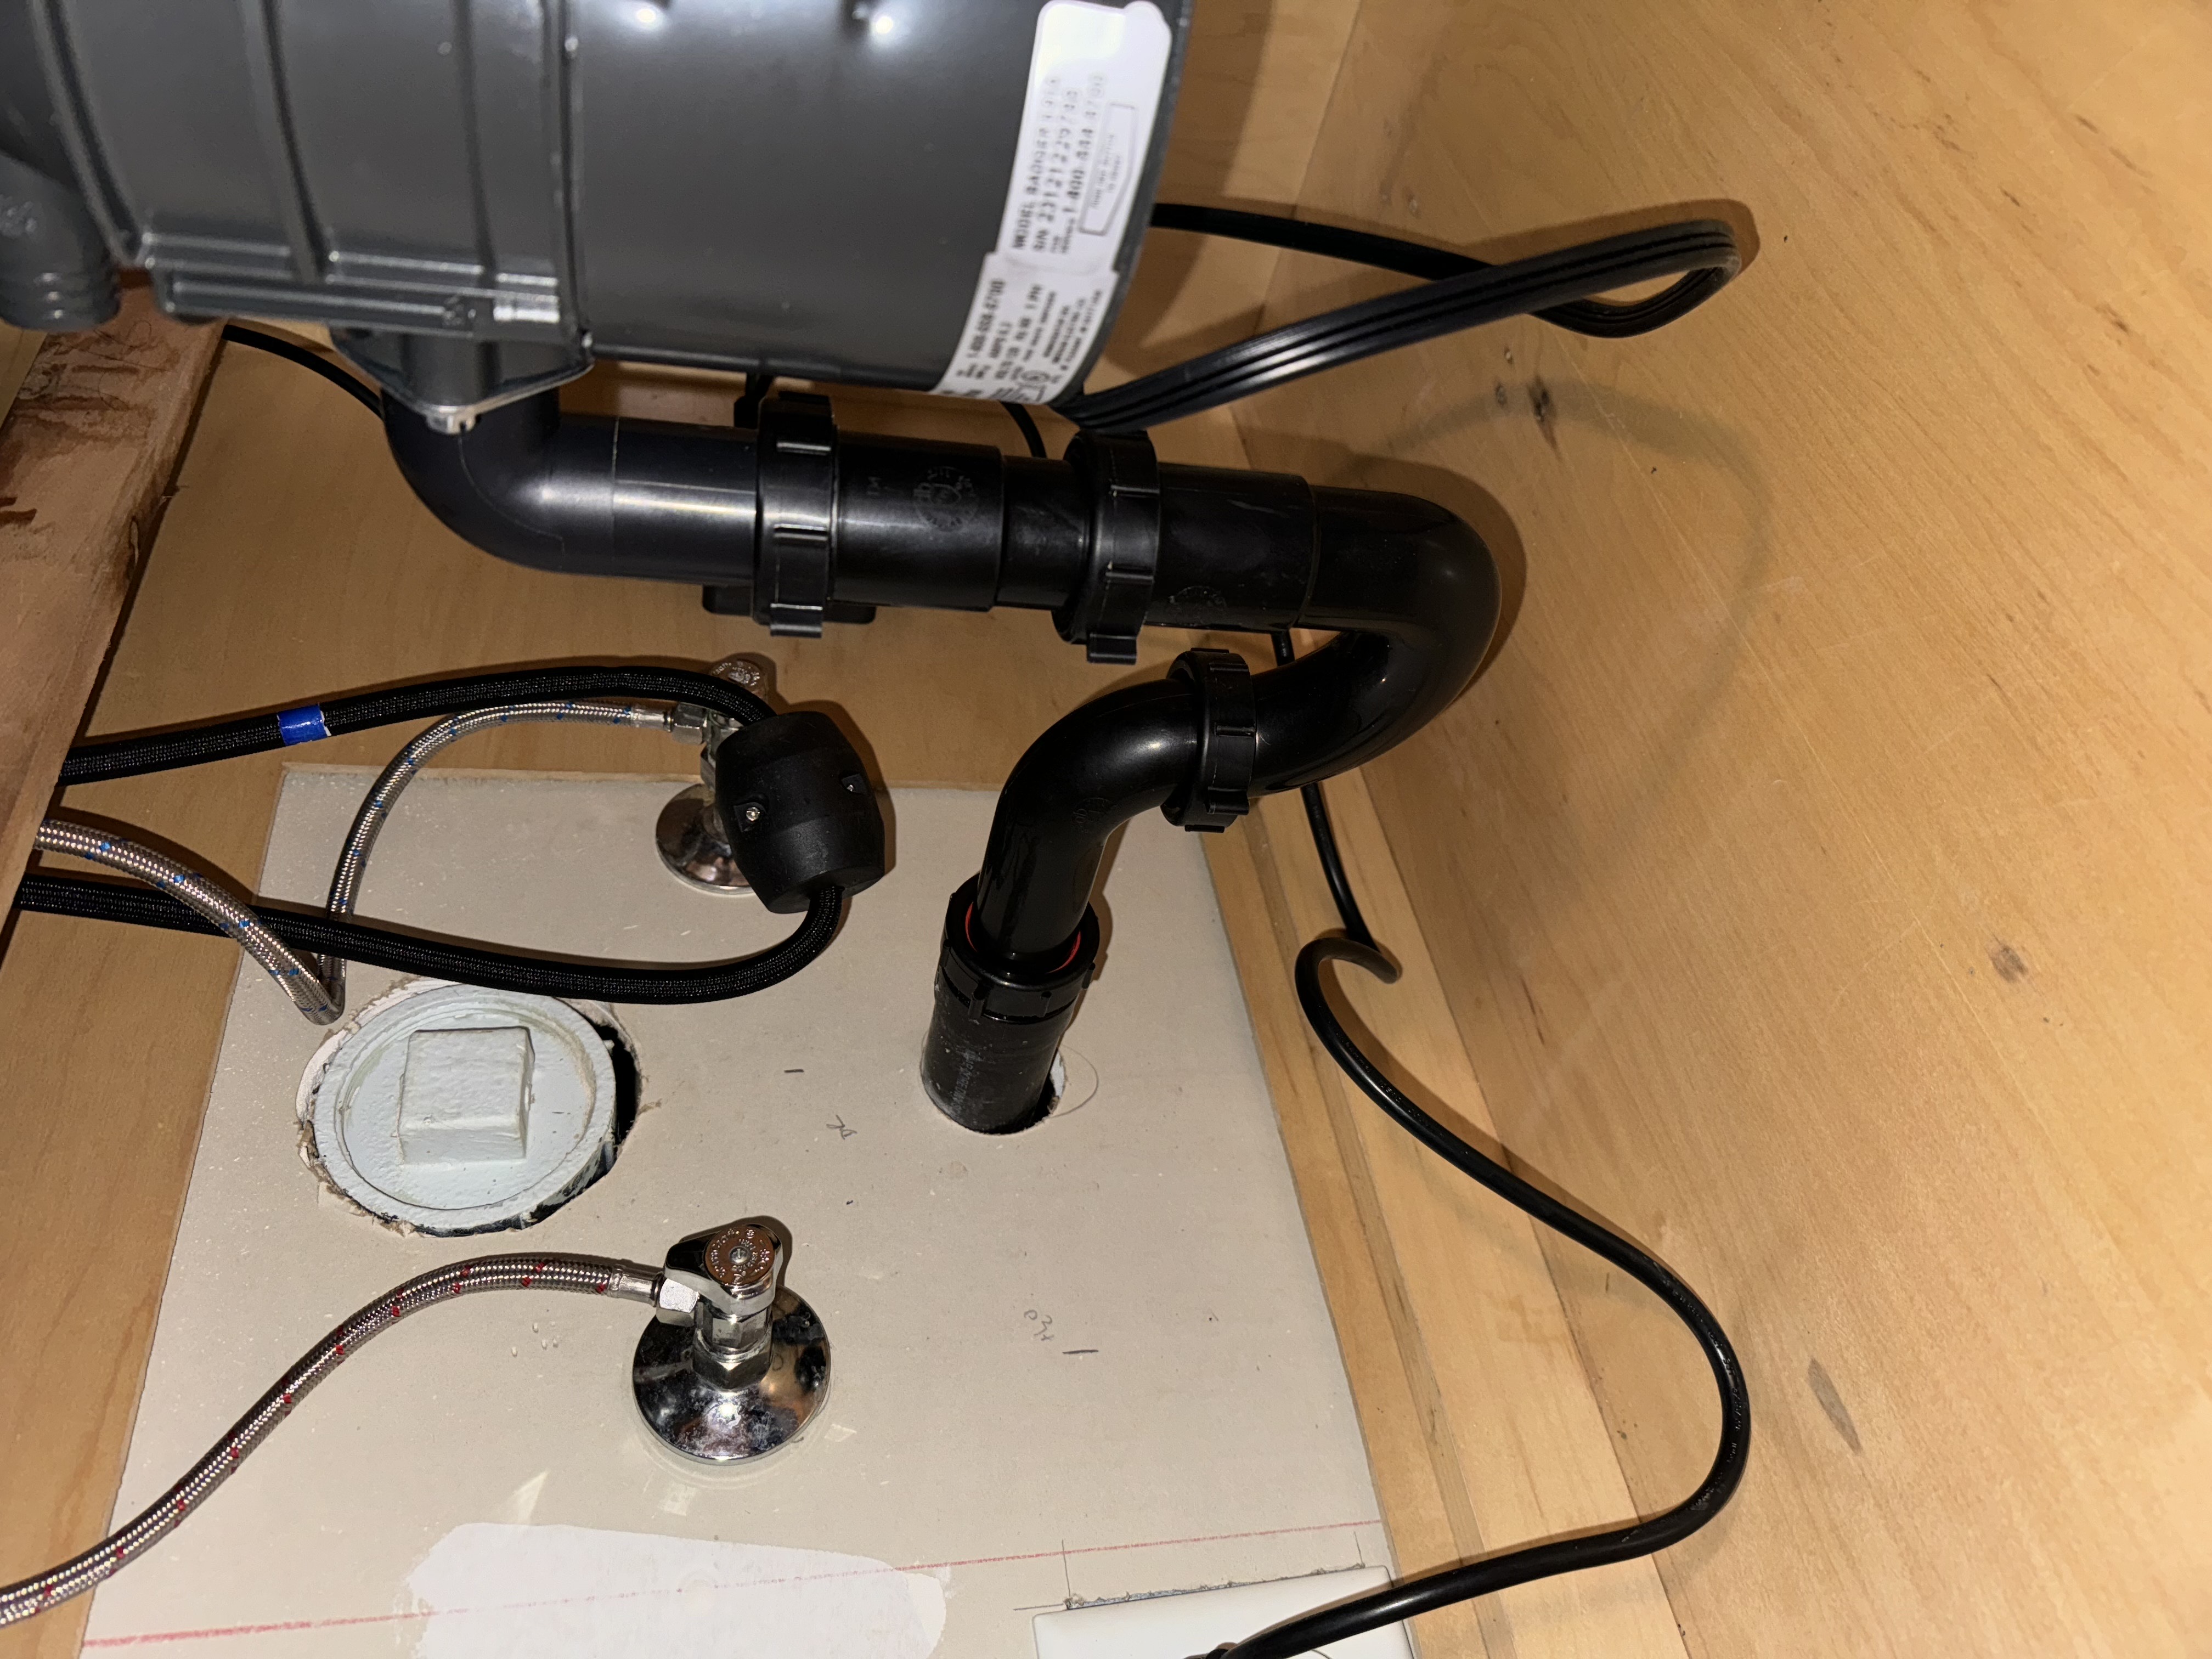
Combine this logic with the realities of your remodel. A kitchen renovation becomes a chance to redo the undersink area with proper shutoffs, a clean P-trap, and enough space for a future filtration system. A new vanity in the hall bath is a moment to replace brittle angle stops and upgrade to quarter-turn ball valves. And if you are opening a chase to move a vent stack, you may have enough room to add a recirculation line for hot water that slices those cold-start waits from minutes to seconds.
The Coordination Puzzle With Your Builder
Renovations have a sequence that saves money when everyone respects it. Demolition opens access, framing sets routes, plumbing rough-in lays the bones, then electrical, then insulation and drywall. When weaving a partial repipe into that flow, timing is everything.
Plumbers want to be on site when cavities are still exposed but after major framing changes are fixed. If a new beam steals headroom or a wall shifts, the route changes. Schedule the partial repipe rough-in once framing is locked and any HVAC trunk changes are decided. Confirm fixture locations with tape on the floor, not just on paper.
Access staging matters too. I’ve asked plenty of carpenters to leave a small section of ceiling open even after rough inspections, because we knew a tight bend or a cleanout would be much easier to set after the tile setter reported final heights. That coordination cuts rework and gives you a cleaner end result.
Permits are not optional. Even if you’re only replacing 40 feet of old copper, you may need an inspection, especially if you alter the water heater connections, add a recirculation pump, or change a main shutoff. Pulling the permit under the umbrella of the renovation usually keeps timelines smooth and avoids red tags that stall drywall.
The Budget Conversation You Actually Want
A dollar spent while a wall is open is not the same as a dollar spent in a panic on a Saturday night. When we price a partial repipe during a renovation, labor falls because access is easier and cleanup is already part of the project. That’s leverage.
Clients ask for ballpark figures. Geography, access, and material drive the range. Replacing a kitchen and primary bath’s hot and cold trunks with PEX, adding a small manifold, new stops, and a recirculation return might come in around a few thousand to low five figures depending on runs and local rates. Redoing only the kitchen branches and stops is typically much less. The goal isn’t to chase a universal number. The goal is to price the best long-term upgrade your current demolition makes cheap.
I always recommend building a small contingency. Pipes buried in plaster sometimes hide surprises: illegal saddle valves, abandoned runs, a union hidden in a wall. A 10 to 15 percent cushion covers the “since we’re here” moments, like adding a whole-house sediment filter if we discover a mud-heavy well, or relocating a main shutoff to a spot you can reach without crawling over storage bins.
Hot Water Recirculation: Small Line, Big Win
If there’s a single upgrade that consistently earns its keep during a partial repipe, it’s a hot water recirculation loop. When installed properly, it does two things well: shortens wait times and saves water. In a two-story home where the far bath sits 60 to 80 feet from the heater, a dedicated return line is ideal. During a renovation, we can route a slim return along the same path as the hot run with minimal extra effort. Tie it into a timer or a smart demand pump that only runs when needed, and you avoid constant heat bleed.
Edge case: slab-on-grade homes where running a dedicated return is impossible without trenching. Here, a crossover-style pump that uses the cold line as a temporary return can still be worthwhile, though it requires careful valve placement to prevent thermal creep in the cold supply. When you’re changing a vanity or moving a sink, it’s the right moment to make that setup clean and serviceable.
Water Quality and Pressure: The Invisible Partners
Before changing pipe, understand what flows through it. Hard water accelerates scale in heat exchangers and adds friction losses in pipes. High chlorine can be unkind to certain elastomers and can contribute to pinhole issues in thin copper over long periods. If your area reports hardness above the moderate range, consider where a softener or a whole-house filter would live. Leave the space and the stubs now. Future you will appreciate not ripping out a cabinet to add it later.
Pressure deserves the same respect. In many municipalities, static pressure in the 80 to 120 psi range is common at the curb. Anything above roughly 80 psi should have a pressure reducing valve. During a renovation, upgrade the PRV and add a thermal expansion tank if you have a backflow device or check valve on the meter. Stable pressure protects your new fixtures and keeps mixed-temperature showers from hunting.
The Manifold Debate
I love manifolds when they fit the house. They centralize control, reduce hidden joints, and make future work surgical. But they do take space and require discipline in planning. If you bring lines to a cabinet next to the water heater and build a labeled manifold panel, you can shut off the hall bath without killing the kitchen. That is priceless when you need to replace a cartridge on a weeknight.
In compact homes, a hybrid works well. Use a small manifold to split the main hot and cold to two or three zones, then branch locally at the fixtures. You still cut fittings, you still earn balanced flow, and you avoid forcing a spaghetti bowl of color-coded lines into a tiny utility closet.
Fire, Sound, and Code: The Quiet Ties That Bind
Every trade affects another. When we run PEX through fire-rated assemblies, we use listed firestopping methods and collars as required. We protect lines with metal nail plates where they pass through studs near the face. In multi-family buildings or even busy households, add sound dampening where pipes pass shared walls. You can bury a simple foam pipe wrap or resilient clip now and save yourself from hearing a toilet fill at midnight.
Vent and drain changes often mingle with supply changes. If you move a kitchen sink, confirm venting with your plumber. Wet venting rules vary by jurisdiction, and we want to avoid long flat runs that invite standing odors or sluggish drains. A clean, well-vented drain line bolsters the perceived quality of your new kitchen almost as much as flawless grout.
Edge Cases and Judgment Calls
Not every partial repipe is worth doing. If your home is a patchwork of different metals with visible corrosion across multiple floors, or if the original builder ran pipe through impossible chases that you cannot access even during a remodel, step back. A full repipe may save money over the next five years as failures cascade. I’ve walked into homes where a single break revealed so many upstream sins that it felt like bailing a boat with a thimble.
Historic homes bring their own calculus. Plaster walls, ornate trim, and masonry make access tricky. Here, the renovation scope matters even more. Work within the already disrupted areas, and lean into PEX for its ability to snake through basements and attics with minimal disruption. Plan pressure-balancing valves to protect antique fixtures you want to keep. Photograph everything, and keep elevations and routes marked in a binder for the next tradesperson.
Season matters too. In cold climates, schedule exterior wall work with an eye on freezing nights. Newly opened cavities and temporary heat can conspire to freeze pipes you thought were safe. I’ve seen a forgetful weekend delay split a brand-new section of copper because a temporary insulation panel never got reinstalled Friday afternoon. A quick site walk at day’s end prevents expensive Monday morning regrets.
A Short, No-Nonsense Planning Checklist
- Define goals: better pressure balance, reduced wait times, specific fixture moves, or material upgrades. Prioritize by daily use. Map what you have: photograph exposed runs during demolition and label main trunks, shutoffs, and vent paths. Pick materials and transitions: PEX, copper, or CPVC, and the fittings that make them play nicely together. Coordinate timing: schedule rough-in after framing changes and before insulation, with permits in hand. Leave service access: plan manifolds, valves, and future filter or softener locations where you can reach them.
A Case Study From the Field
A two-story 1988 home, 2,400 square feet, municipal water. The owners planned a kitchen expansion and wanted to refresh a tired primary bath. Hot water lag to the bath was 70 to 90 seconds in winter. The kitchen pressure dropped every time the laundry ran. The original copper looked decent, but there was a galvanized section at the water entry and a couple of suspect unions buried in the basement ceiling.
We pulled permits under the renovation. During demolition, we found a generous chase between the kitchen and the upstairs bath. That changed the plan. We installed a compact PEX manifold near the new high-efficiency water heater, ran new hot and cold trunks up the chase, and dedicated separate branches to the kitchen, laundry, and primary bath. A small recirculation return came back down the same chase, feeding a demand pump with a smart button inside the bathroom vanity. We replaced the main shutoff and added a new PRV and expansion tank. Total extra open-wall labor was minimal, because the walls were open anyway.
Results were immediate. The upstairs shower stabilized under mixed loads. The hot water arrived in 10 to 15 seconds when the pump was activated, and under 30 seconds even without it thanks to the straighter run. Flow noise at the kitchen sink dropped, and the owners now isolate fixtures at the manifold when they swap a faucet or service an appliance. They didn’t repipe the entire house. They repiped the parts that mattered most, on the day it cost the least to do it right.
Avoiding the Gotchas
Small errors during a partial repipe echo for years. Don’t bury push-fit couplings in walls; many jurisdictions prohibit concealed mechanical couplings unless they are listed for that use and accessible. If you must transition materials in a concealed space, use approved crimp, press, or soldered fittings. Label shutoffs, and actually test them. A quarter-turn valve that hasn’t been exercised in five years might as well be welded open.
Plan for expansion. PEX expands and contracts with temperature. Leave room for movement, use bend supports, and avoid tight straight runs that might tick in the wall. Copper benefits from expansion loops or gentle offsets near the water heater outlet to relieve stress. Strap lines properly, but don’t overcompress them. A good strap holds, it doesn’t mash.
If you’re relocating a gas water heater or adding a circulation pump, confirm electrical and venting requirements. I’ve seen immaculate plumbing work stalled by an undersized dedicated circuit or a vent termination that no longer meets code after a deck addition.
The Payoff You Feel Every Day
A remodel transforms how a room looks. A partial repipe transforms how a house lives. Morning routines hum along without pressure wars. Dishes finish faster. The laundry no longer robs the shower of heat. Maintenance goes from a crawlspace expedition to a quick turn of a labeled valve. If you decide later to finish the rest of the repipe, the framework is already there. You’ve planted the spine.
There’s a reason seasoned builders and plumbers push for infrastructure upgrades when walls are open. Money spent on the bones buys calm for years. If your renovation creates access, take it. Walk the house with your plumber before drywall. Touch the shutoffs and trace the routes with your finger. Ask how the system will handle a holiday crowd when every fixture gets used at once. Favor simplicity. Favor serviceability. Favor routes that future you will understand in a minute.
Green tape on a subfloor layout often marks where the pretty parts will land. The real luxury lives in the quiet stuff behind them. A strategic partial repipe, woven into your renovation, turns the hush of hidden pipes into a steady, reliable beat. That’s the sound of a house ready for anything.
Business Name: Principled Plumbing LLC Address: Oregon City, OR 97045 About Business: Principled Plumbing: Honest Plumbing Done Right, Since 2024 Serving Clackamas, Multnomah, Washington, Marion, and Yamhill counties since 2024, Principled Plumbing installs and repairs water heaters (tank & tankless), fixes pipes/leaks/drains (including trenchless sewer), and installs fixtures/appliances. We support remodels, new construction, sump pumps, and filtration systems. Emergency plumbing available—fast, honest, and code-compliant. Trust us for upfront pricing and expert plumbing service every time! Website: https://principledplumbing.com/ Phone: (503) 919-7243